
Back
CLIENT HELP PORTAL
Welcome to the DN:AR Help Pages.
These pages include general information about the
system and how to create and host your own content on the DN:AR service.
What is DN:AR?
First of all, what exactly is DN:AR?
DN:AR is a service that allows you
to publish movie content that can be unlocked and viewed by end users locating a “trigger image”
in the real world and pointing the DN:AR app at the image. The app will recognise the trigger
image, and will playback the movie linked to it, in augmented reality.
That sounds interesting but what is Augmented Reality?
Augmented Reality is really a catch all term for a system that can superimpose
digital content, in this case movies that have been uploaded to the DN:AR server, onto the real world,
in such a way that they appear to be a part of the real environment.
Ok, this is starting to sound pretty interesting, so how do I use the DN:AR?
To use DN:AR you need to download the app, and if you want to create your
own trigger image and movie pairs you need to have a login username and password to the DN:AR web
portal provided for you by the DanceNorth team. To get the app you simply need to go to the App
or Play Stores and search for DN:AR, and to get access to the web portal you need to contact the
Dance North team at info@dancenorth.scot
I’ve done both of these things, what now?
If you have the app and access to the web portal, you can jump straight into
creating your own AR experience by following the Quick Start guidelines. If you’d like to find out
a bit more about how to make your trigger images more accurate, or if you have tried the Quick
Start instruction but found you can’t get images to track correctly, you can get more in-depth
information about the system as well as learn some tips and tricks to improve the performance of
your AR experience.
Quick Start
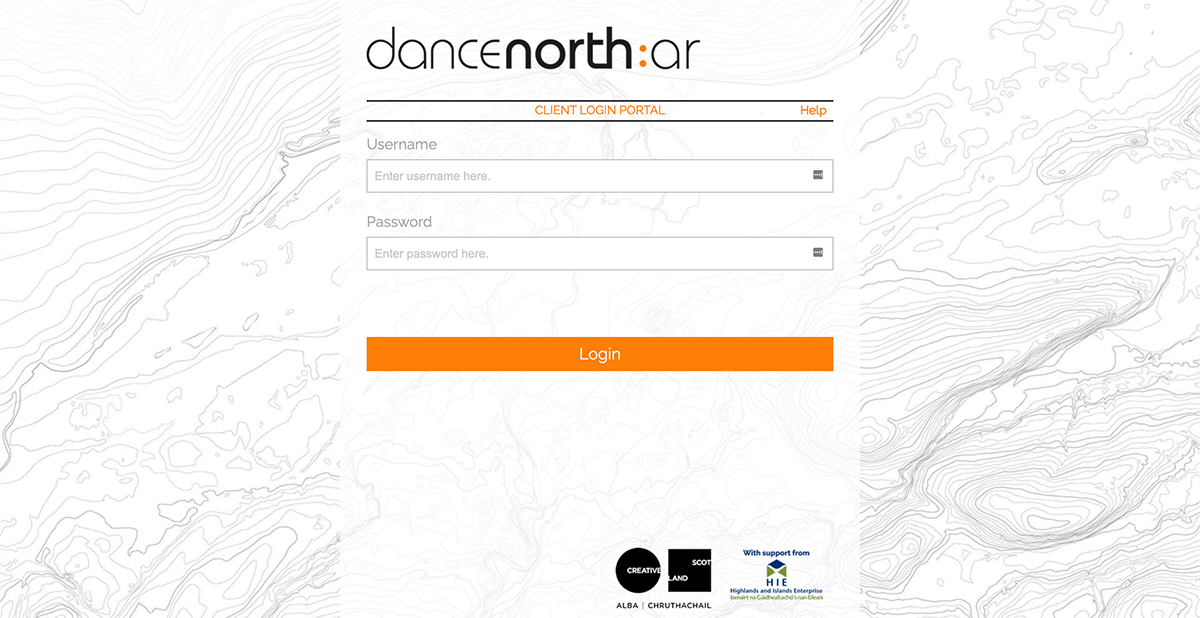
1. Login to the DN:AR client service at https://ar.dancenorth.scot
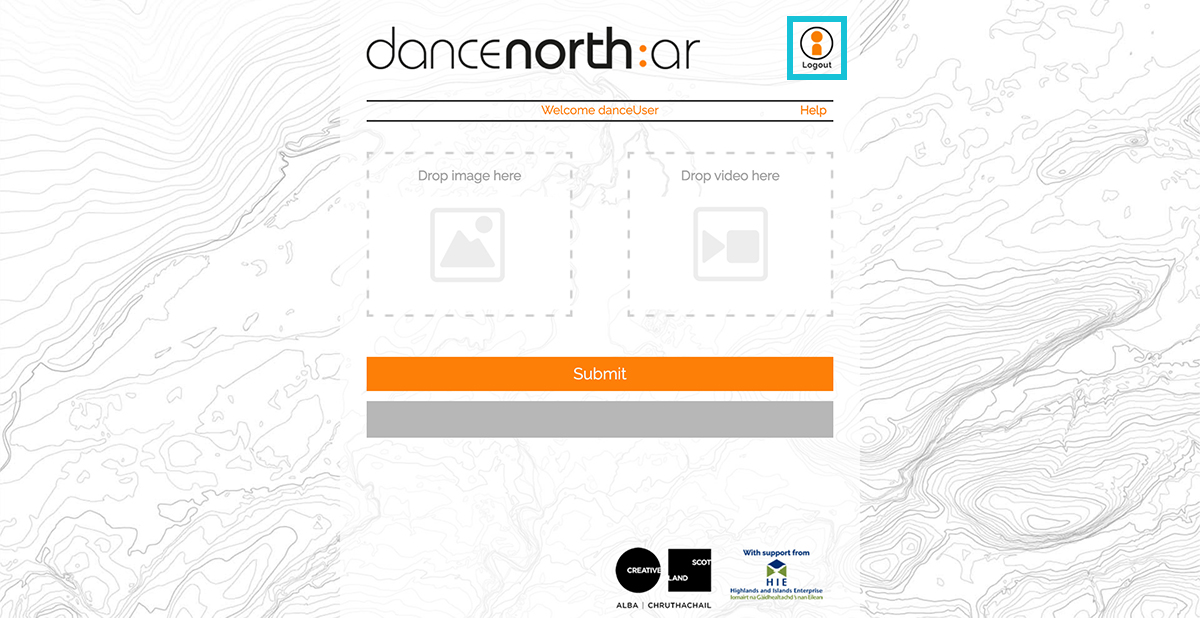
2. Drag and drop the trigger image you want to track, inside the left hand
box surrounded by a dotted line, and denoted by the blue surround in the picture below.
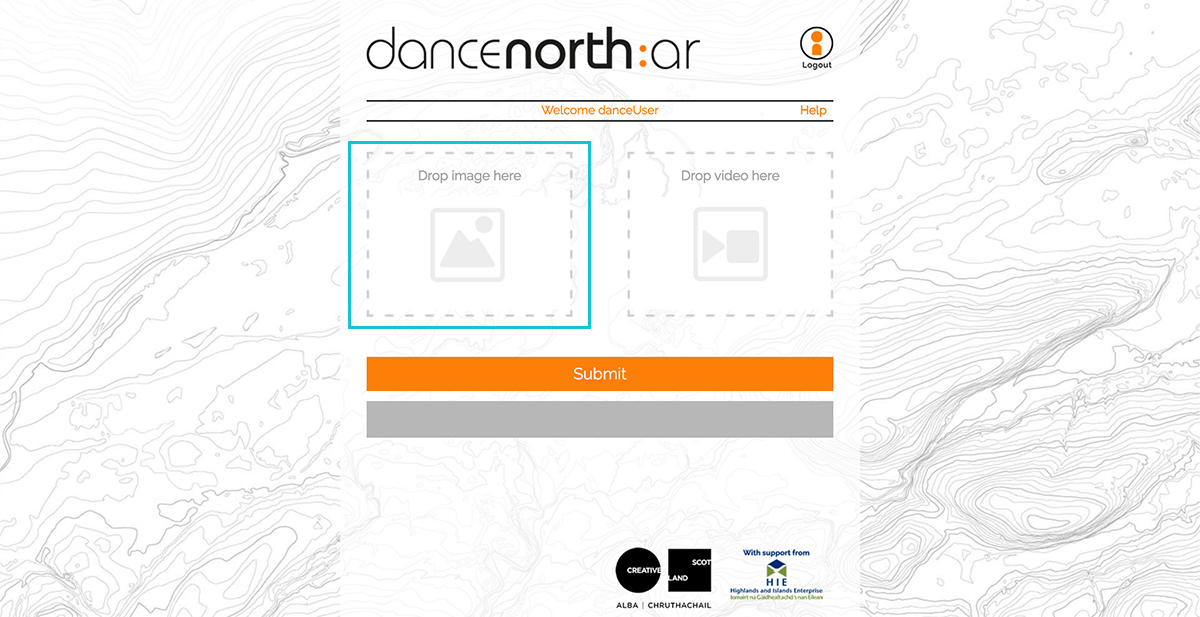
Note: your image should be no larger than 1200 pixels in either height or breadth
3. Now drag and drop the movie you want to play when the trigger image is
detected by the app, into the right hand box surrounded by a dotted line, and denoted by a
blue surround in the picture below.


Note: the app requires the movie to be an .mp4, any other movie type
won’t be uploaded.
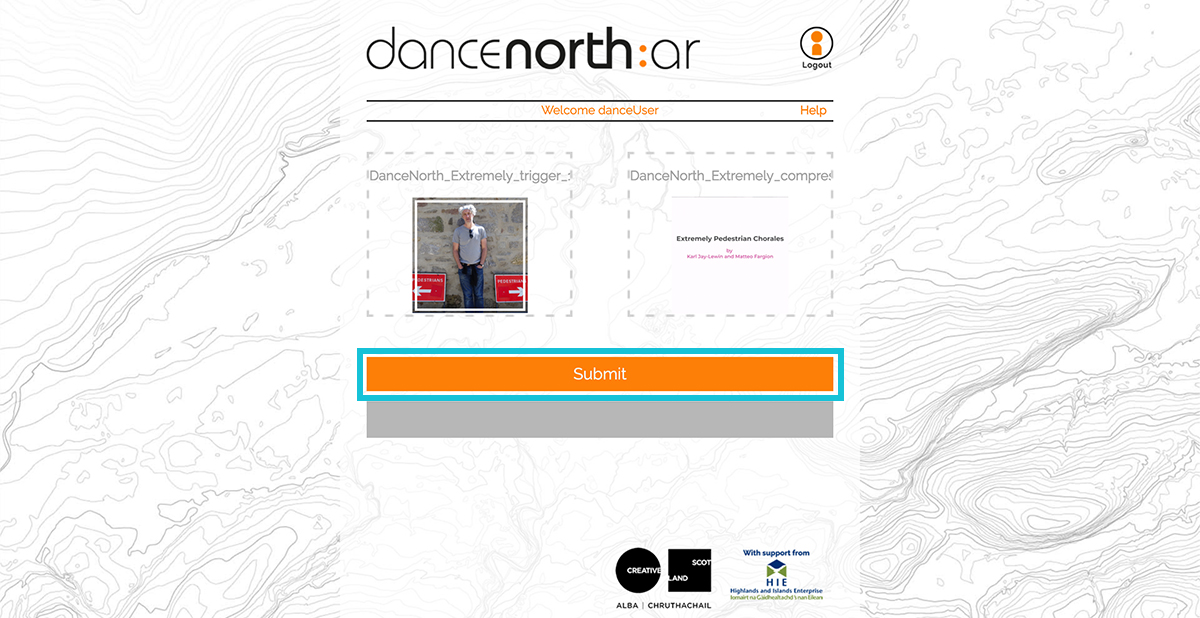
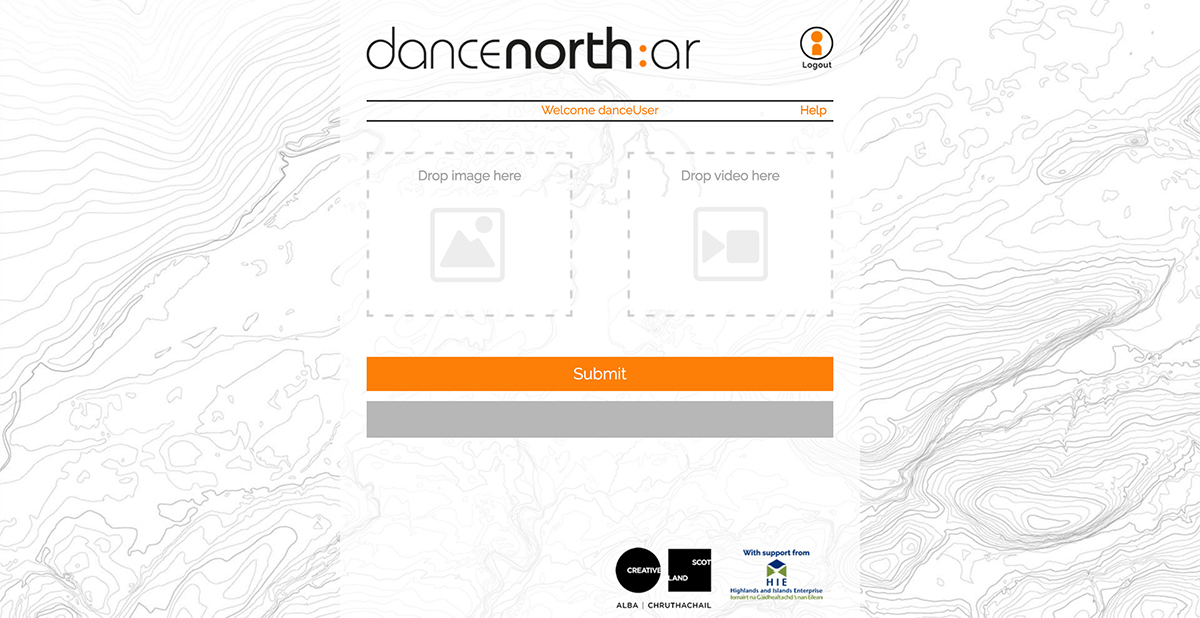
4. Once you have both an image and a movie added to the web portal, press
the Submit button.
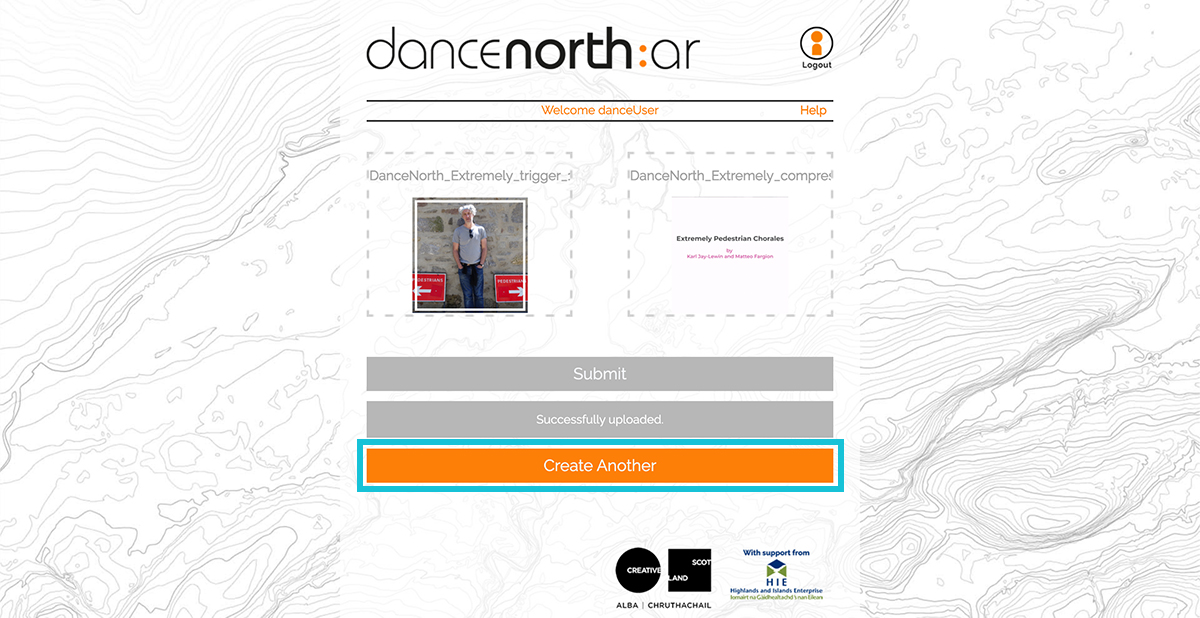
5. The portal will begin the upload process and will inform you once the
upload is complete. At this stage if you want to add another image and movie pair simply press
the Create Another button, outlined in blue below.
6. This will take you back to the upload screen again.
7. If you don’t want to upload another image then you’re all done. Simply
click logout in the top right corner of the web portal.
8. To see your movie play restart the DN:AR app, or, if you haven’t
installed it yet, download it from the App or Play stores, launch the app and point it at the
trigger image
How does it Work?
The DN:AR service comprises two parts:
1. A server where you upload the images you want to track, and the movies
that will be played when that image is detected.
2. An app, downloaded from App Store or Play Store, that end users use to
view videos in augmented reality, that are triggered when the app is pointed at a specific
trigger image.
The DN:AR app relies on two key pieces of AR functionality; image
recognition and image tracking. Image recognition gives the app the capability to understand
what trigger image it is looking at and Image Tracking helps the app understand where in the
real world the trigger image actually is both in terms of its position and its
orientation.
Each time the app runs on a device the first thing it does is go to the
server to gather and download all of the trigger images that have been uploaded and at the same
time processes each image creating a large body of data containing unique points of interest on
the image.
Once these images have been processed in this way and loaded into memory
the app begins to scan the environment around it with the device camera.
When the camera finds one of the trigger images in frame it finds the
associated movie, which is also stored on the server, and begins to download and play the film
immediately thereafter. This is the point at which the Image Tracking comes into play.
The Image Tracker scans the image 60 times a second looking for the
position of the unique points of interest that were built up when the image was loaded into
memory. Based on their apparent change in position the app is then able to understand where
in 3D space the image is and the app then draws a digital projection screen and alters its
position and orientation to give the impression that it is linked to the surface of the trigger
image.
Tips for Video Scaling
This digital projection screen scales to the size of the video content. T
his means that if you make the trigger image the same ratio as the video image the video will
automatically fit neatly over the top.
The video still has to be square or rectangular in nature, i.e. there is n
ot a facility yet for the video to be masked off to create rounded corners or other more exotic
shapes.
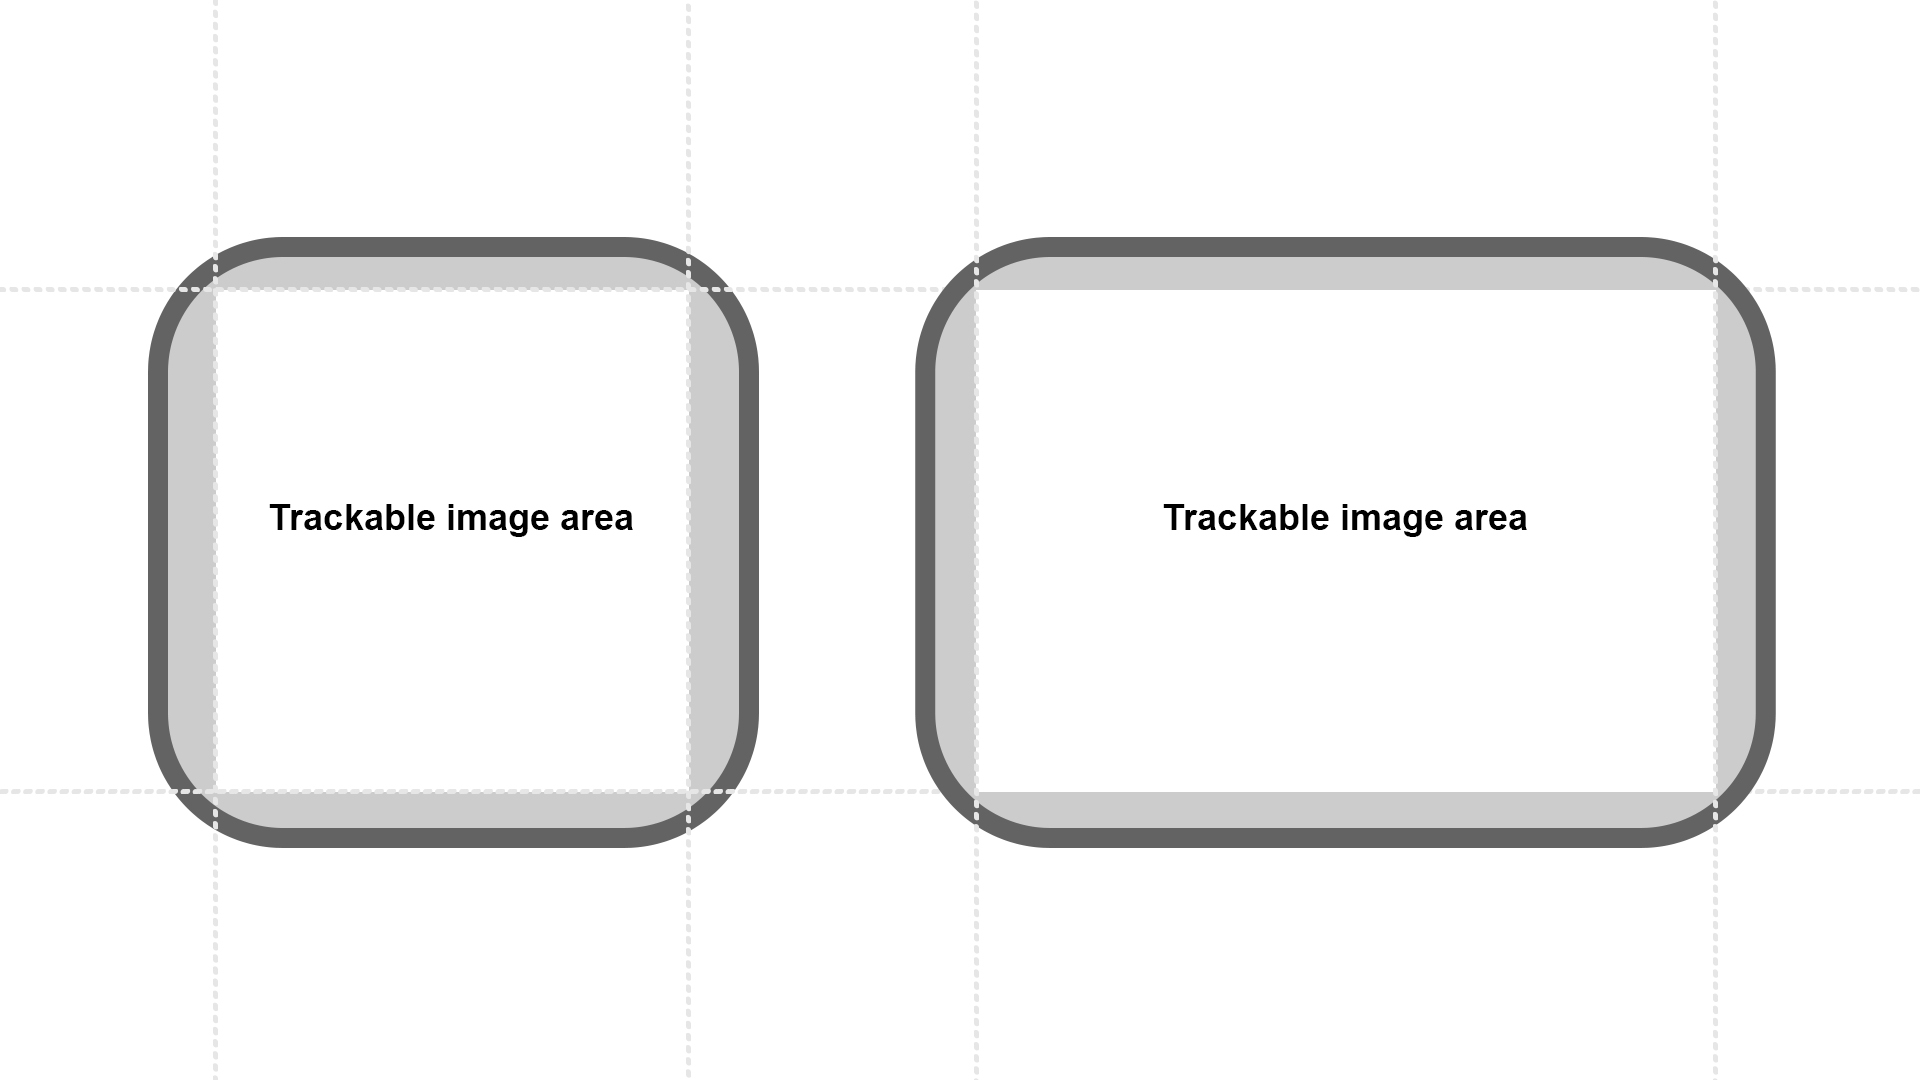
If you would like to tie your playback to an object that has rounded
corners but a graphic that has a print bleed to the very edge then you should choose a section
of graphic to track that can be contained within a regular square or rectangle as designated
by the white area inside the dotted lines in the illustration below.
Tips for Choosing Trigger Images
When the app can’t track a trigger image it stops playing the associated
video. Consequently the choice of trigger image is crucial to the correct functioning of the
system.
Choose the correct image and the app will be able to accurately track
the location in space of the image in a wide variety of lighting scenarios, choose the wrong
image and the app might not be able to recognise it at all or, despite recognising it, have a
hard time tracking it, leading to a stuttering or flickering video playback.
With all that in mind the following pointers should be observed to
maximise the performance of the system.
- The image's resolution should be at least 300 x 300 pixels. Using images with high resolution does not improve performance.
- However, using high resolution images will increase both loading and processing times, so images should be no larger than 1200 pixels in either length or breadth.
- Reference images can be provided in PNG or JPEG file format though png is preferable as JPEG’s can have compression artifacts that are hard to track
- Color information is not used. Both color and equivalent grayscale images can be used as reference images or by users at runtime.
- An image with plenty of unique feature is best, for example an image of the earth seen from space has many unique features to track.
- If you want to have the video accurately scale to the size of the actual image in the real world then having trackable detail around the outside of the image is beneficial so the edges of the image can be picked up against the surface it is placed on.
- Avoid images with heavy compression as this interferes with feature extraction.
- Avoid images that contain a large number of geometric features, or very few features (e.g. barcodes, QR codes, logos and other line art) as this will result in poor detection and tracking performance.
- Avoid images with repeating patterns (the side of a skyscraper which is covered in identical windows for example) as this also can cause issues with detection and tracking.
Tips for Video Format
To ensure that videos play back correctly you should use the following
guidelines during their creation and compression.
- Your videos should be .mp4 files.
- Keep your videos to around 1 minute in length.
- Make sure that neither the height nor the length of your video is greater than 1280 pixels.
If you follow the instructions on how to compress a video below this
should mean that the videos are no larger than around 40 MB each.
As far as aspect ratios are concerned, technically speaking your video
can be any aspect ratio to suit the printed material over which the film will be displayed.
However, aspect ratios greater than around 3:1 for either the height or the width are likely
to give rise to problems when compressing the video, so you should probably stay within those
limits if possible.
Tips for Video Compression
If you have a video but you have no idea about how to compress it
correctly we have written a handy tutorial on video compression here.
There are a great many video compression software packages available for
free across the internet, but the one we have found to be most robust overall and the one we
have written this tutorial for, is Handbrake.
Handbrake has been around for many years now and is a consistently
popular solution to compressing video. You can download it from here:
https://handbrake.fr/downloads.php